
Heartbox sealing guide
With your own hands.
A place for treasured memories.
From opening the underside lid to completing the seal, follow the illustrated steps in your own time.
Begin with preparationBefore you begin, take a moment.
- Choose a quiet, well-lit place and clear the tabletop.
- Have a small sealed bag of ashes, or the keepsakes you wish to save, ready before you begin.
- Take out Heartbox and the sealing tools. Lay a soft cloth on the table.
01Prepare and lift the lid
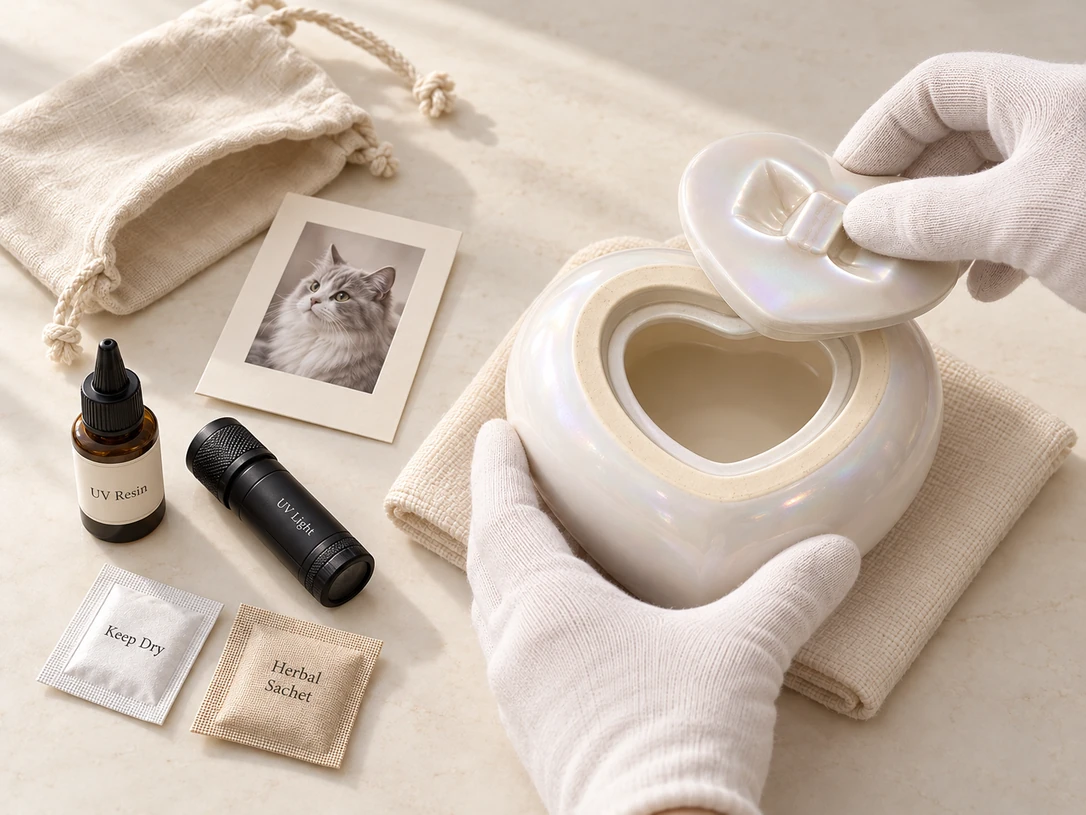
Put on the gloves. Gently turn Heartbox over and rest it securely on the soft cloth, with the heart-shaped opening on its underside facing up.
Steady the vessel with one hand. With the other, hold the bow on the lid, lift it gently and set it beside the vessel.
Check your sealing toolkit
- Gloves
- Memorial card
- Off-white linen drawstring pouch
- UV resin
- Small UV lamp
- Desiccant
- Small herbal sachet
02Place your treasured keepsakes
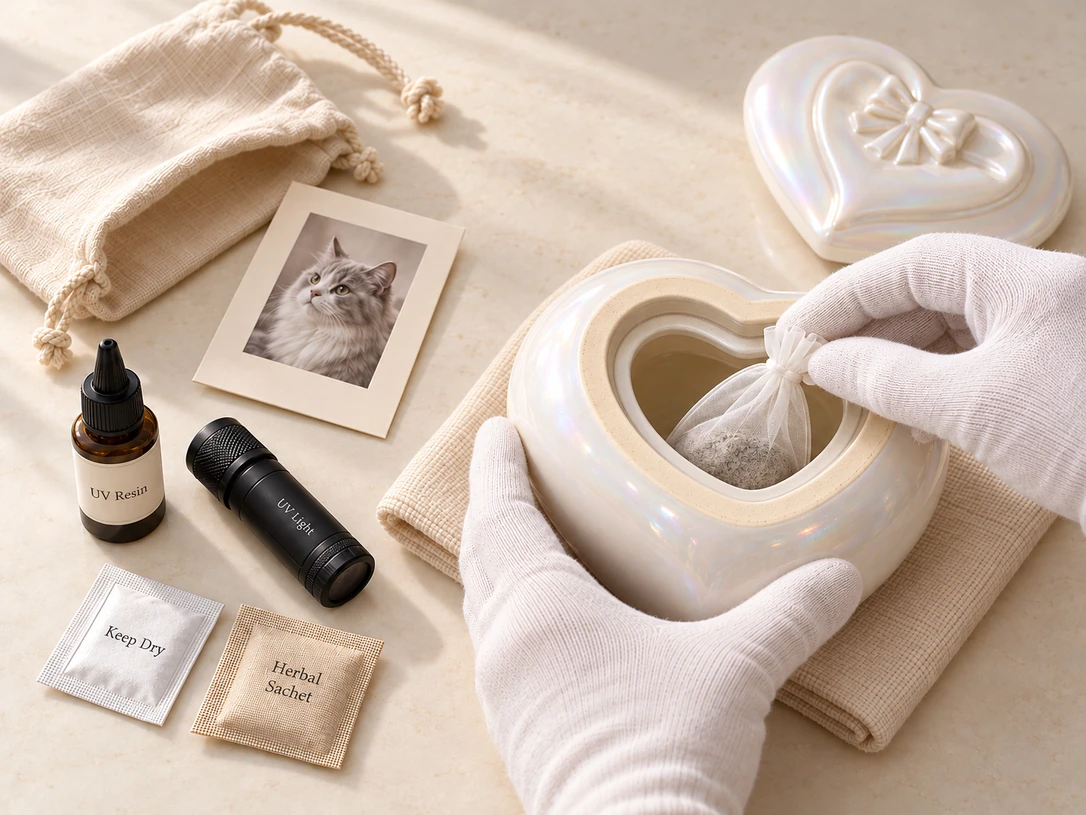
Steady the vessel and gently place the sealed ashes bag or other keepsakes inside.
- Place the sealed ashes bag or other keepsakes inside.
- Add the desiccant.
- Add the small herbal sachet.
Check that everything is in place before replacing the lid.
03Gently replace the lid
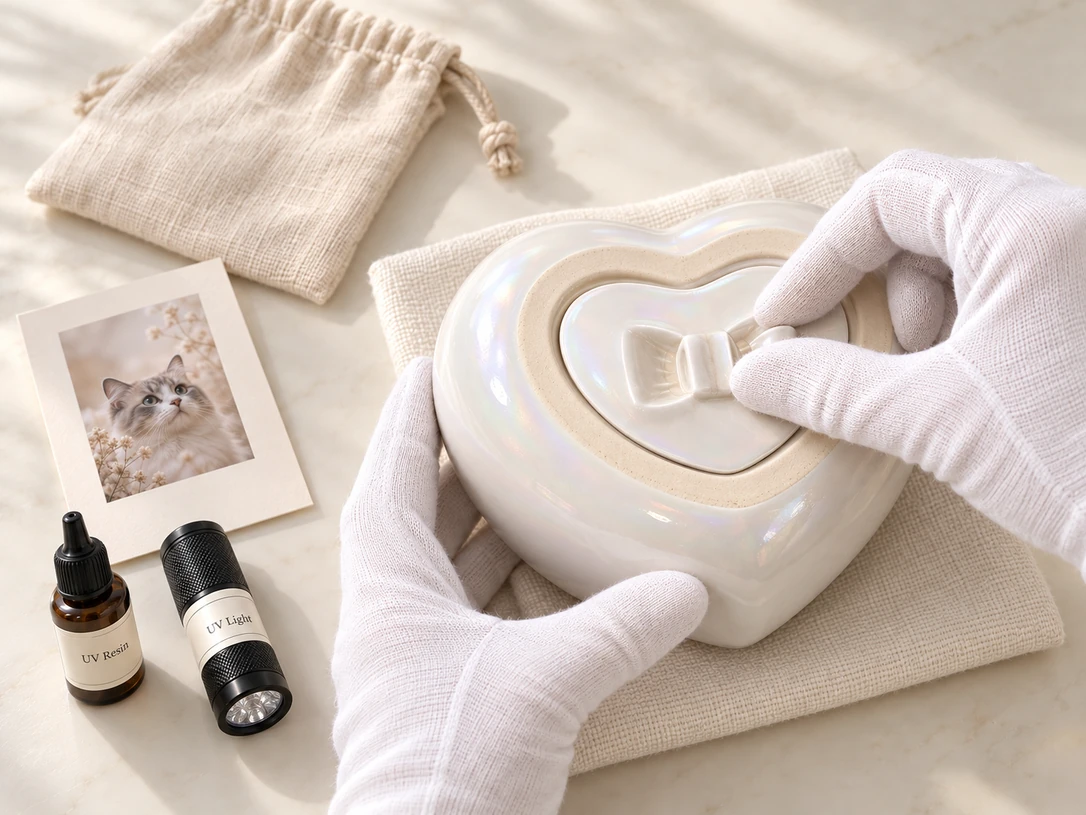
Align the heart-shaped lid with the underside opening and gently lower it into place.
Make sure the lid sits evenly and the seam is aligned. Keep the underside facing up, ready to apply the resin.
04Apply resin and seal
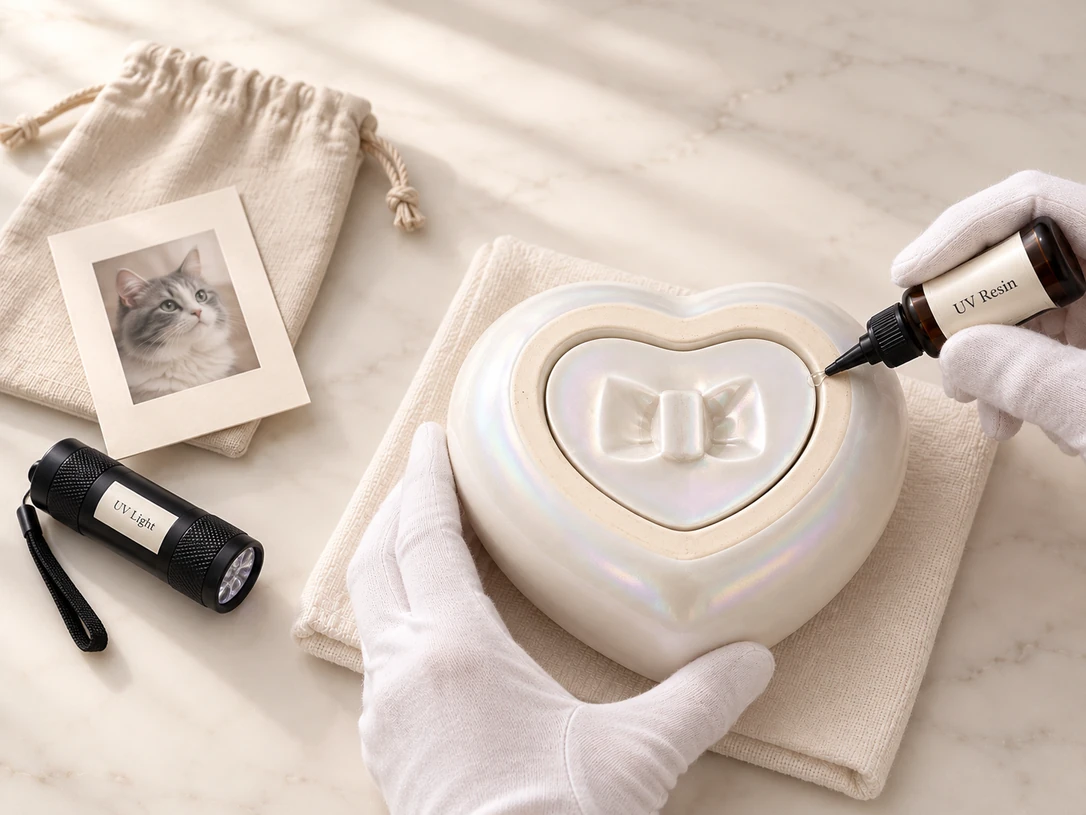
Keep the lid facing up. Apply 3–4 drops of UV resin along the seam between the lid and the vessel, allowing it to flow evenly along the groove.
Choose one curing method below. Keep the piece steady and expose every part of the seam to the light.
Curing · Choose one method
Choose the method that suits your setting.
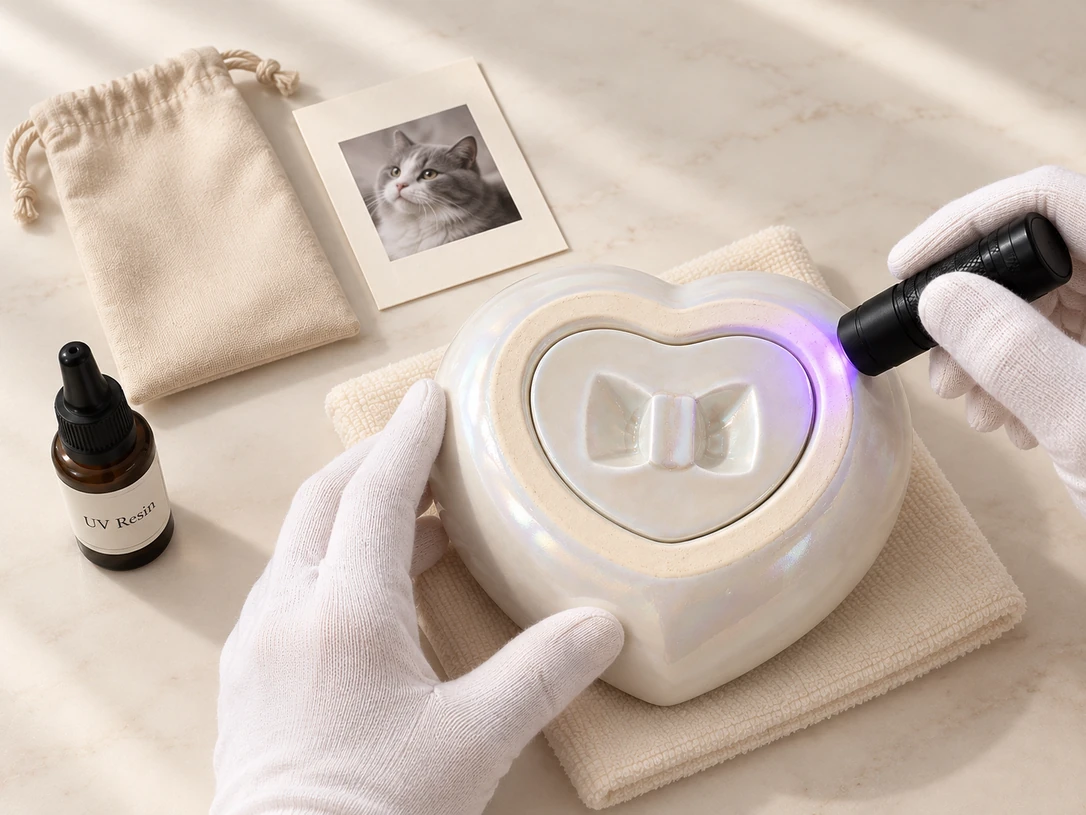
UV lamp curing
About 5–10 minutes
Move the small UV lamp slowly along the seam, exposing every part until the resin has fully cured.
View original: UV curing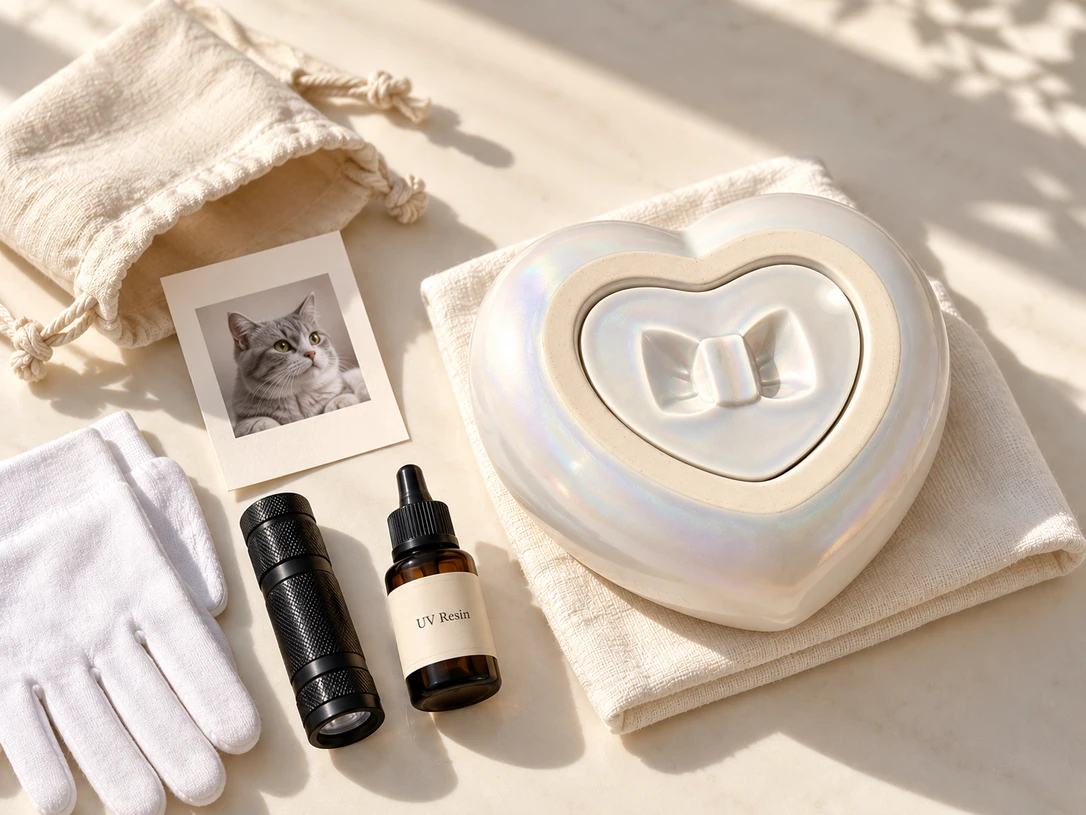
Direct sunlight curing
About 30 minutes
Place the seam in direct sunlight. Gently turn the piece as needed so every part of the seam receives light.
View original: sunlight curingTimes are approximate. Make sure the resin has fully cured before turning Heartbox upright.
05Find a place at home.
Once the seal has fully cured, gently turn Heartbox upright and place it in its matching K9 crystal cradle.
On a bedside table, a bookshelf or in a familiar corner, make a quiet place for treasured memories.
Explore Heartbox at homeWe are here to help.
For questions about your Heartbox, its accessories or any sealing step, contact us.