
Palm Egg sealing guide
With your own hands.
In your own time.
Follow the illustrated steps from preparation to completion, at a pace that feels right for you.
Begin with preparation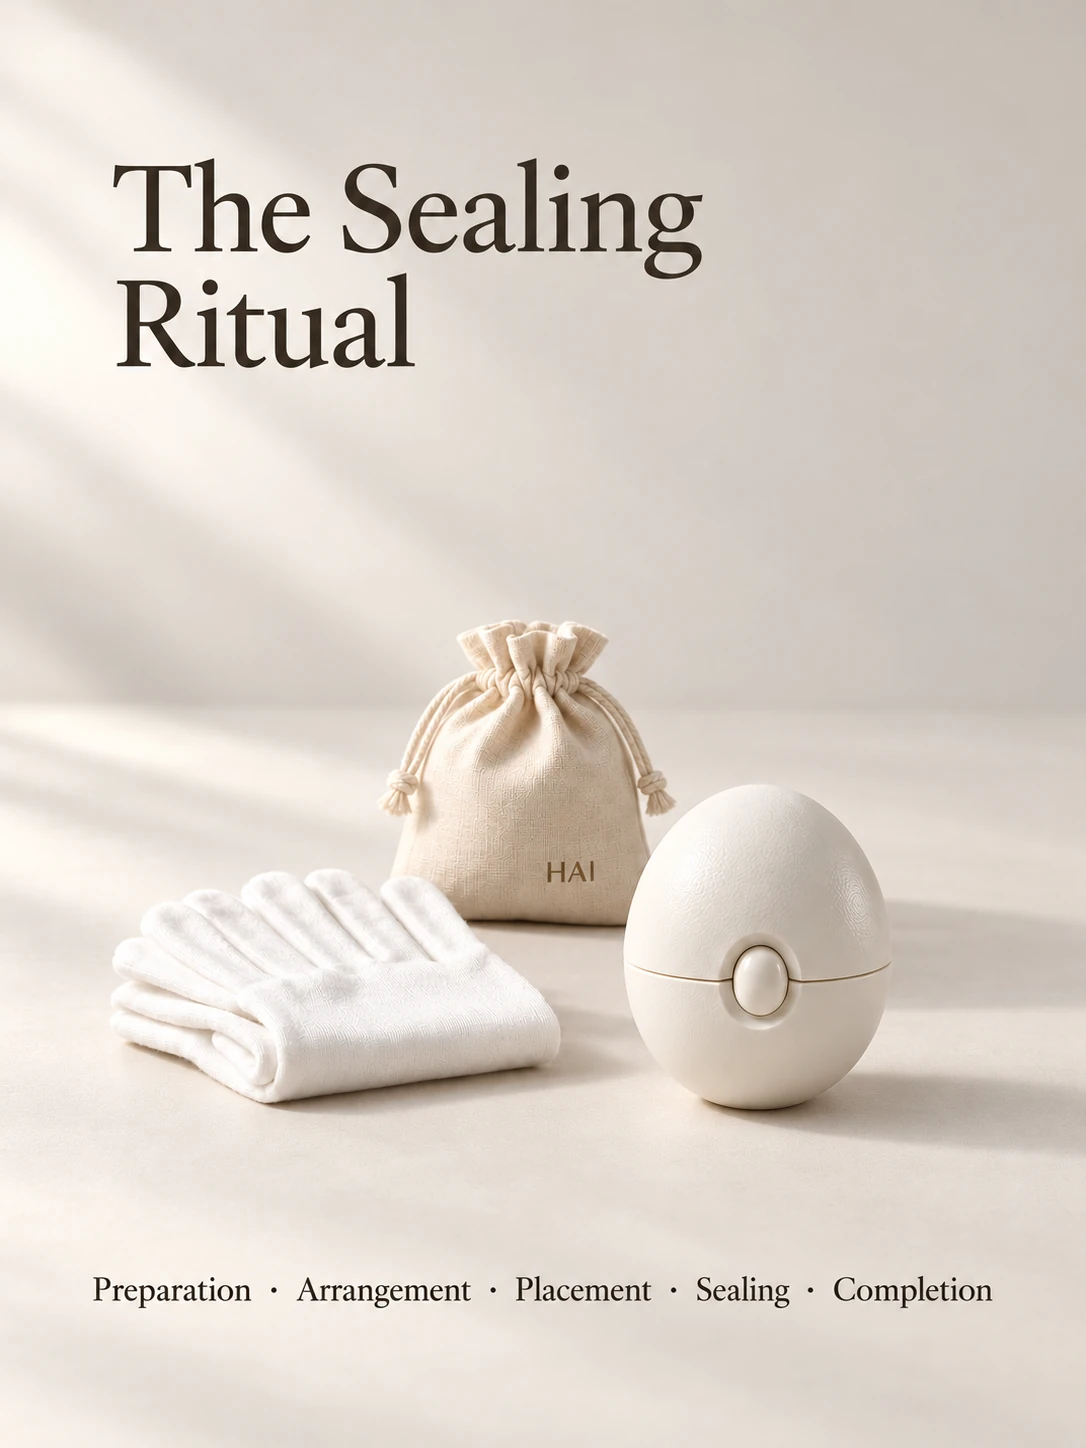
01 · Prepare
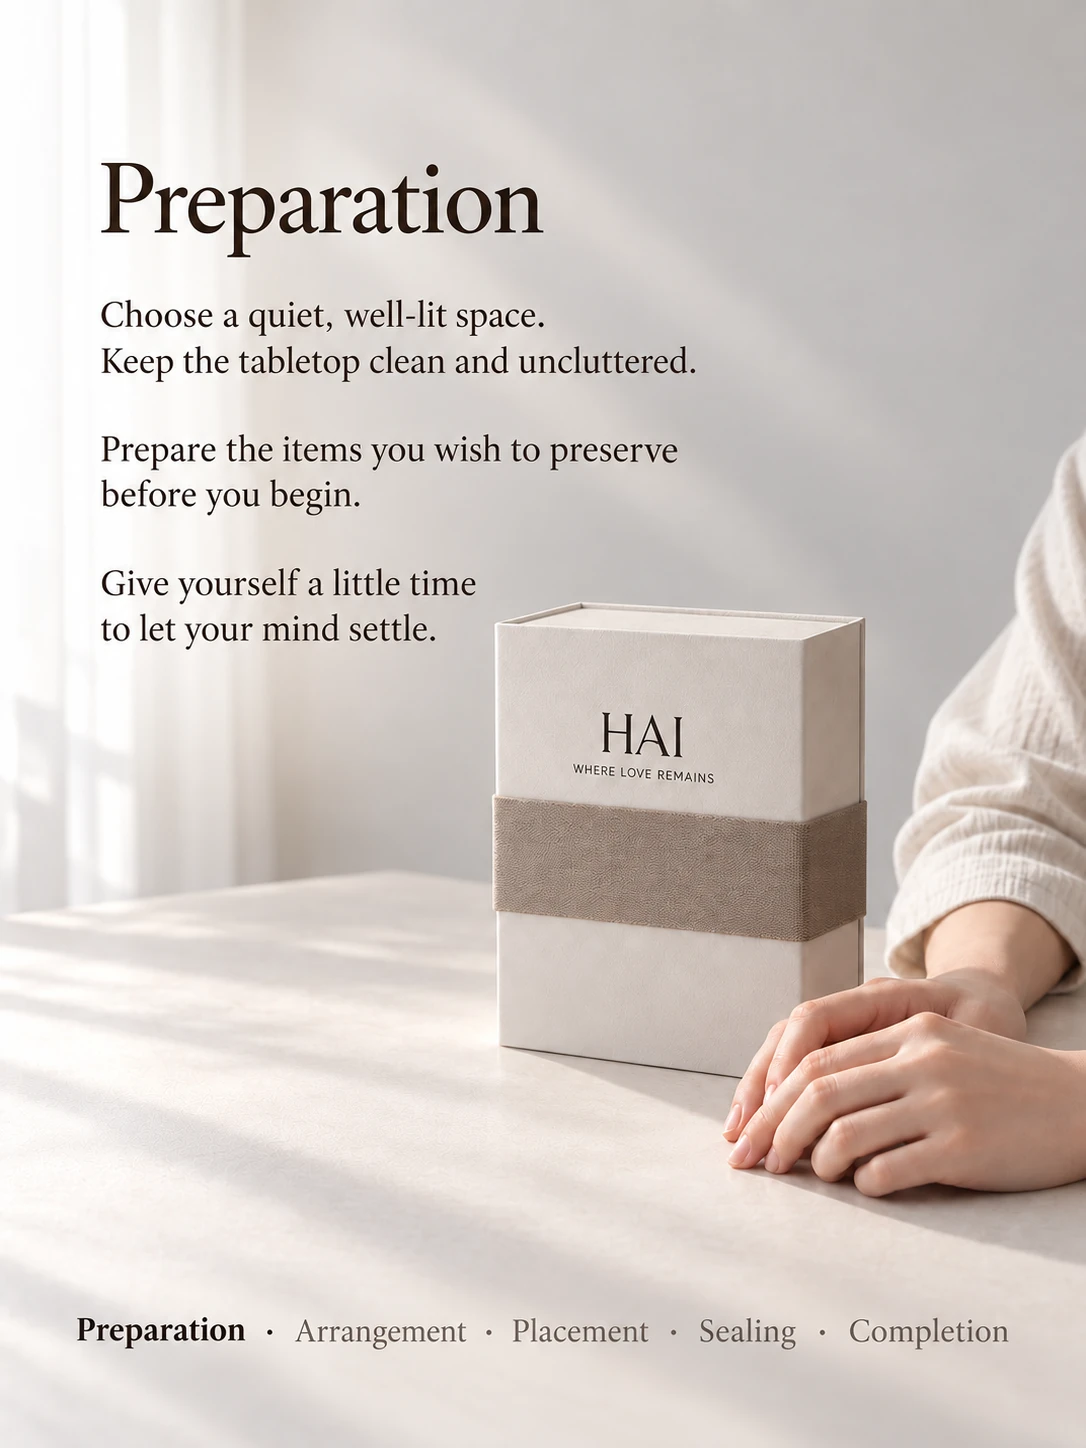
Step 1: instructions
Choose a quiet, well-lit place and clear the tabletop.
Have the keepsakes you wish to seal ready before you begin.
Give yourself a little time to settle.
02 · Arrange
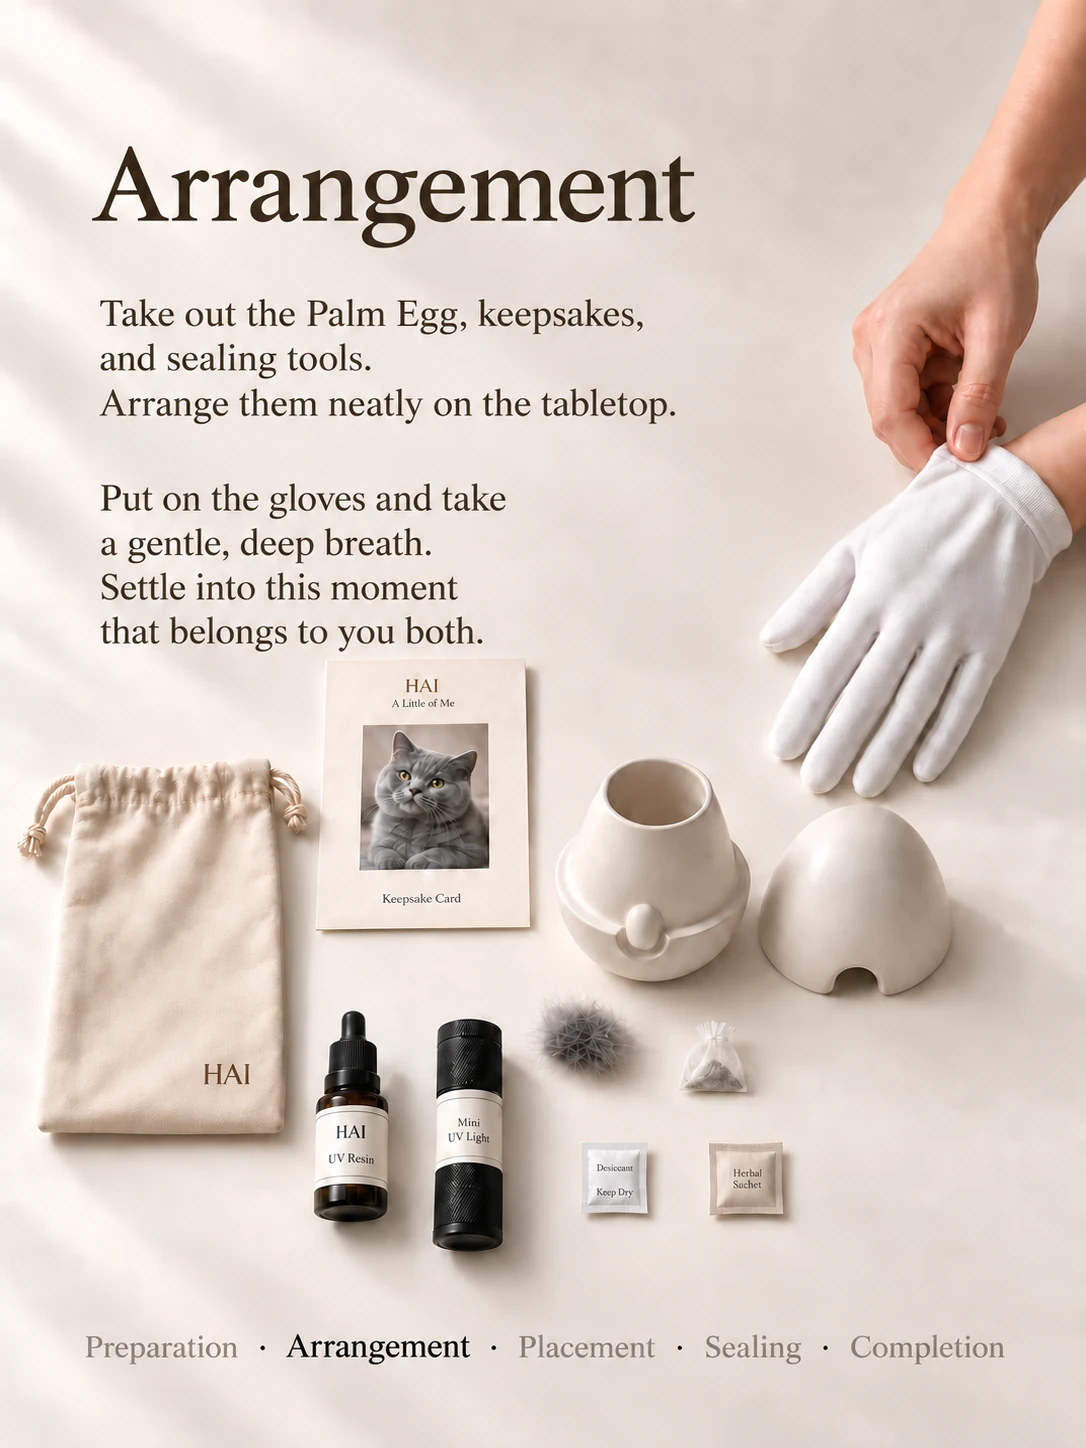
Step 2: instructions
Take out Palm Egg, your keepsakes and the sealing tools. Arrange them neatly on the table.
Put on the gloves. Take a breath and begin when you feel ready.
Check your sealing toolkit
- Gloves
- Memorial card
- Off-white linen drawstring pouch
- UV resin
- Small UV lamp
- Desiccant
- Small herbal sachet
03 · Place
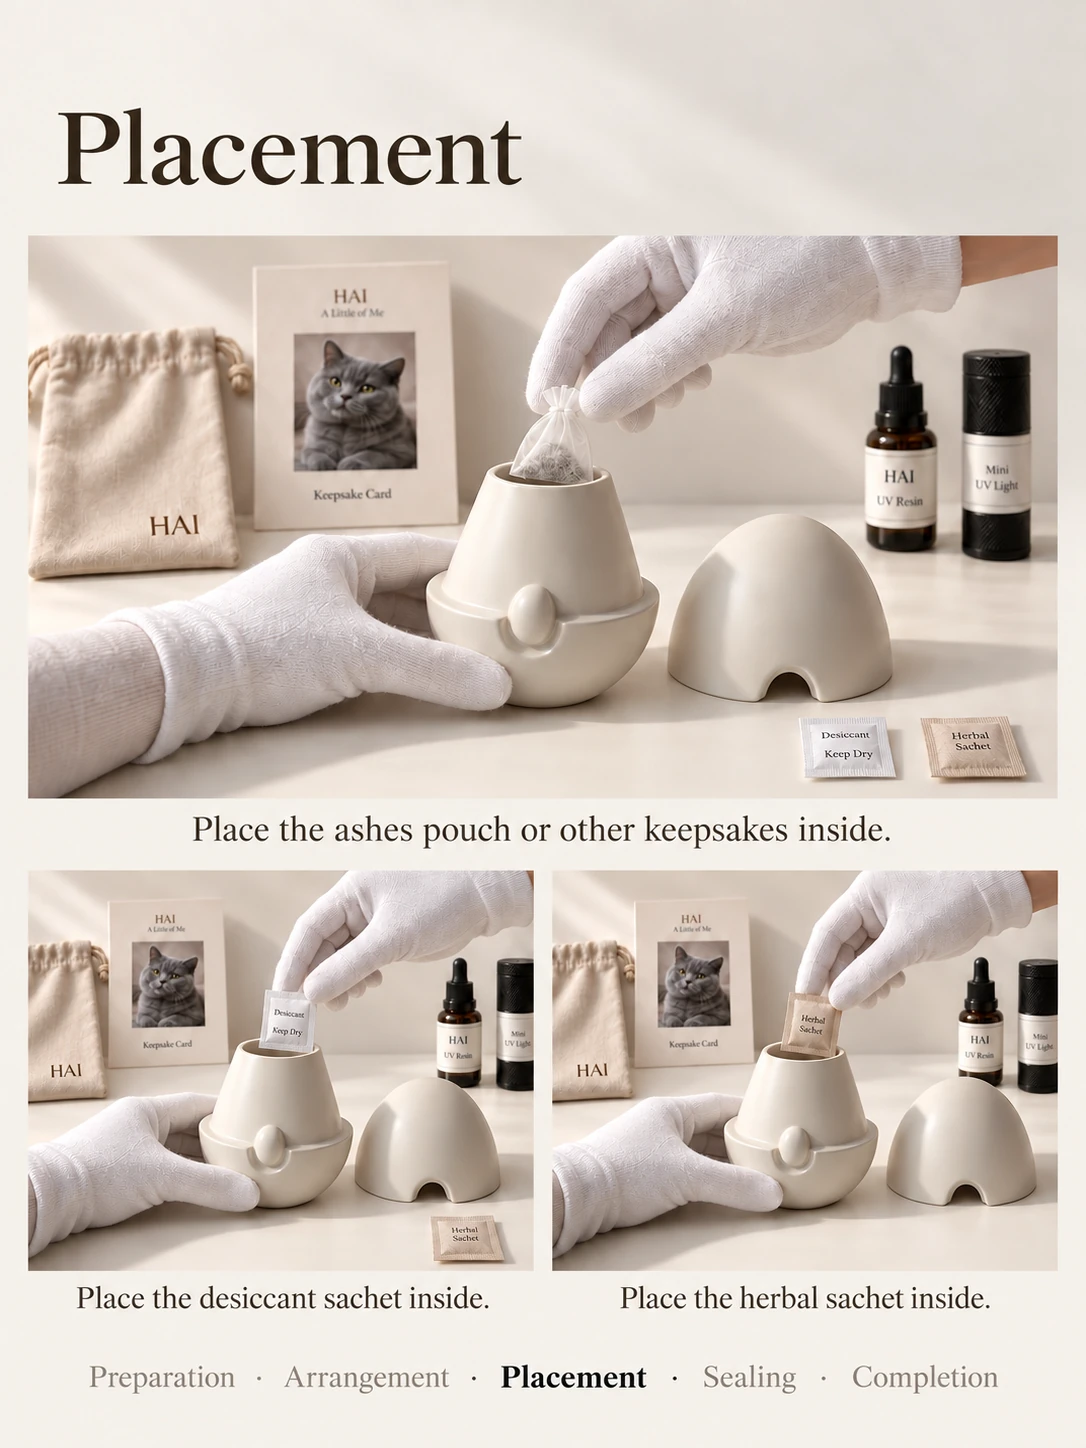
Step 3: instructions
- Place a sealed bag of ashes or other keepsakes inside.
- Add the desiccant.
- Add the small herbal sachet.
04 · Seal
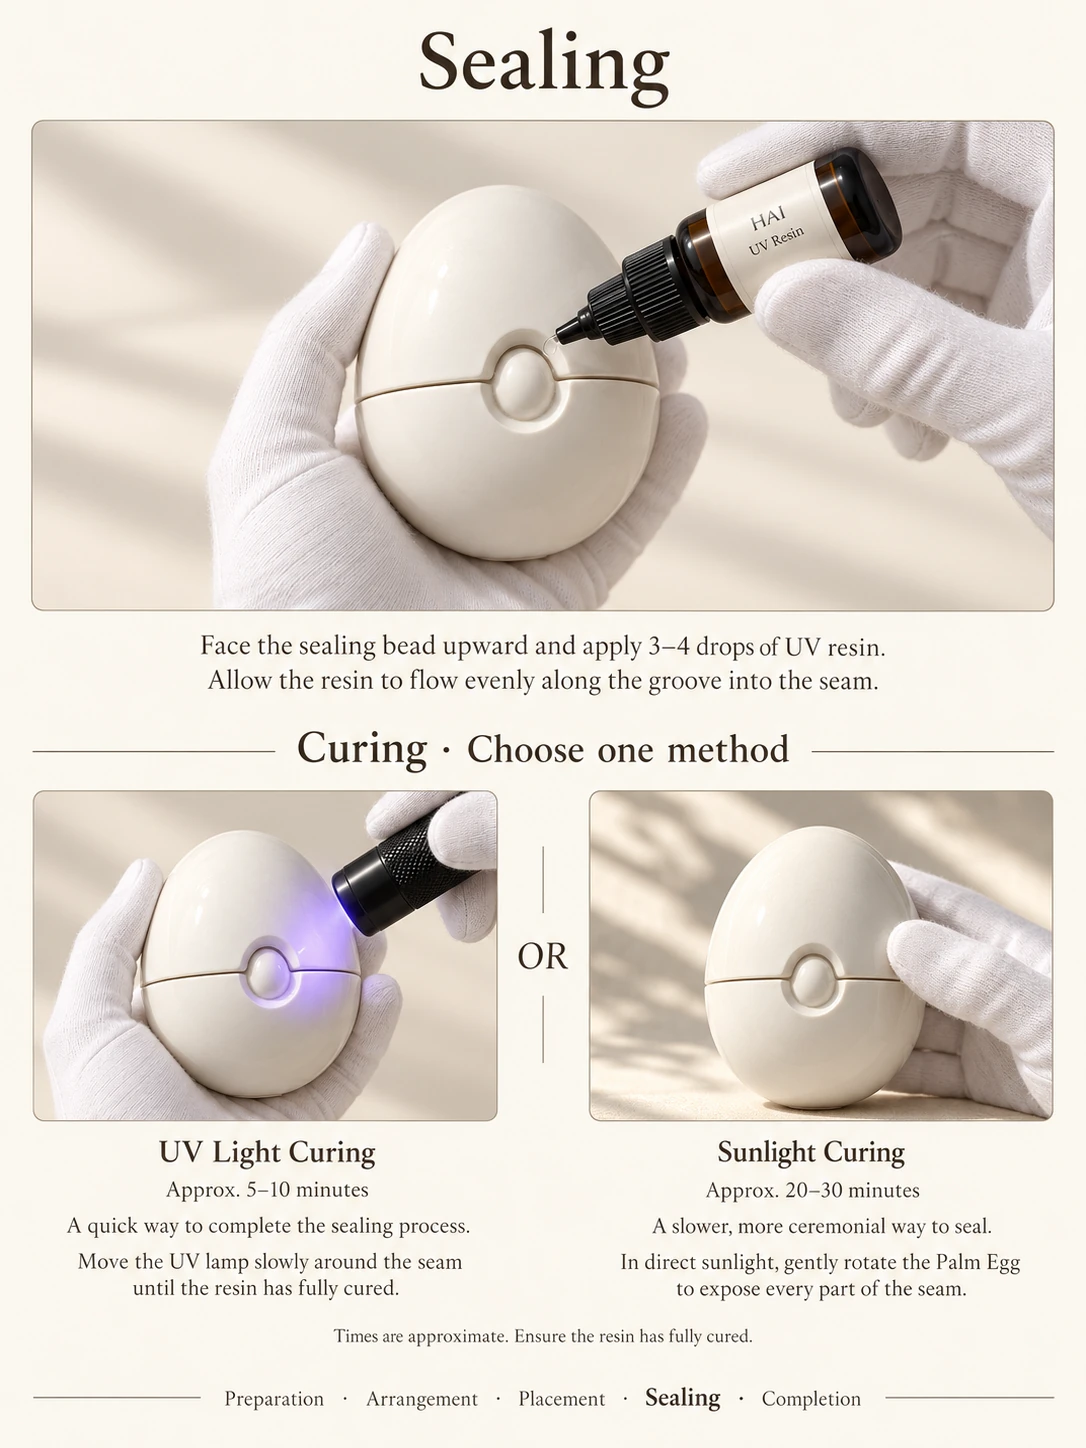
Step 4: instructions
Position the sealing bead facing upwards and apply 3–4 drops of UV resin. Let the resin flow evenly along the groove into the seam.
Curing · Choose one method
UV lamp curing
About 5–10 minutes
Move the small UV lamp slowly along the seam, exposing every part until the resin has fully cured.
Direct sunlight curing
About 30 minutes
Place the seam in direct sunlight. Gently turn the piece as needed so every part of the seam receives light.
Times are approximate. Make sure the resin has fully cured before proceeding.
05 · Complete
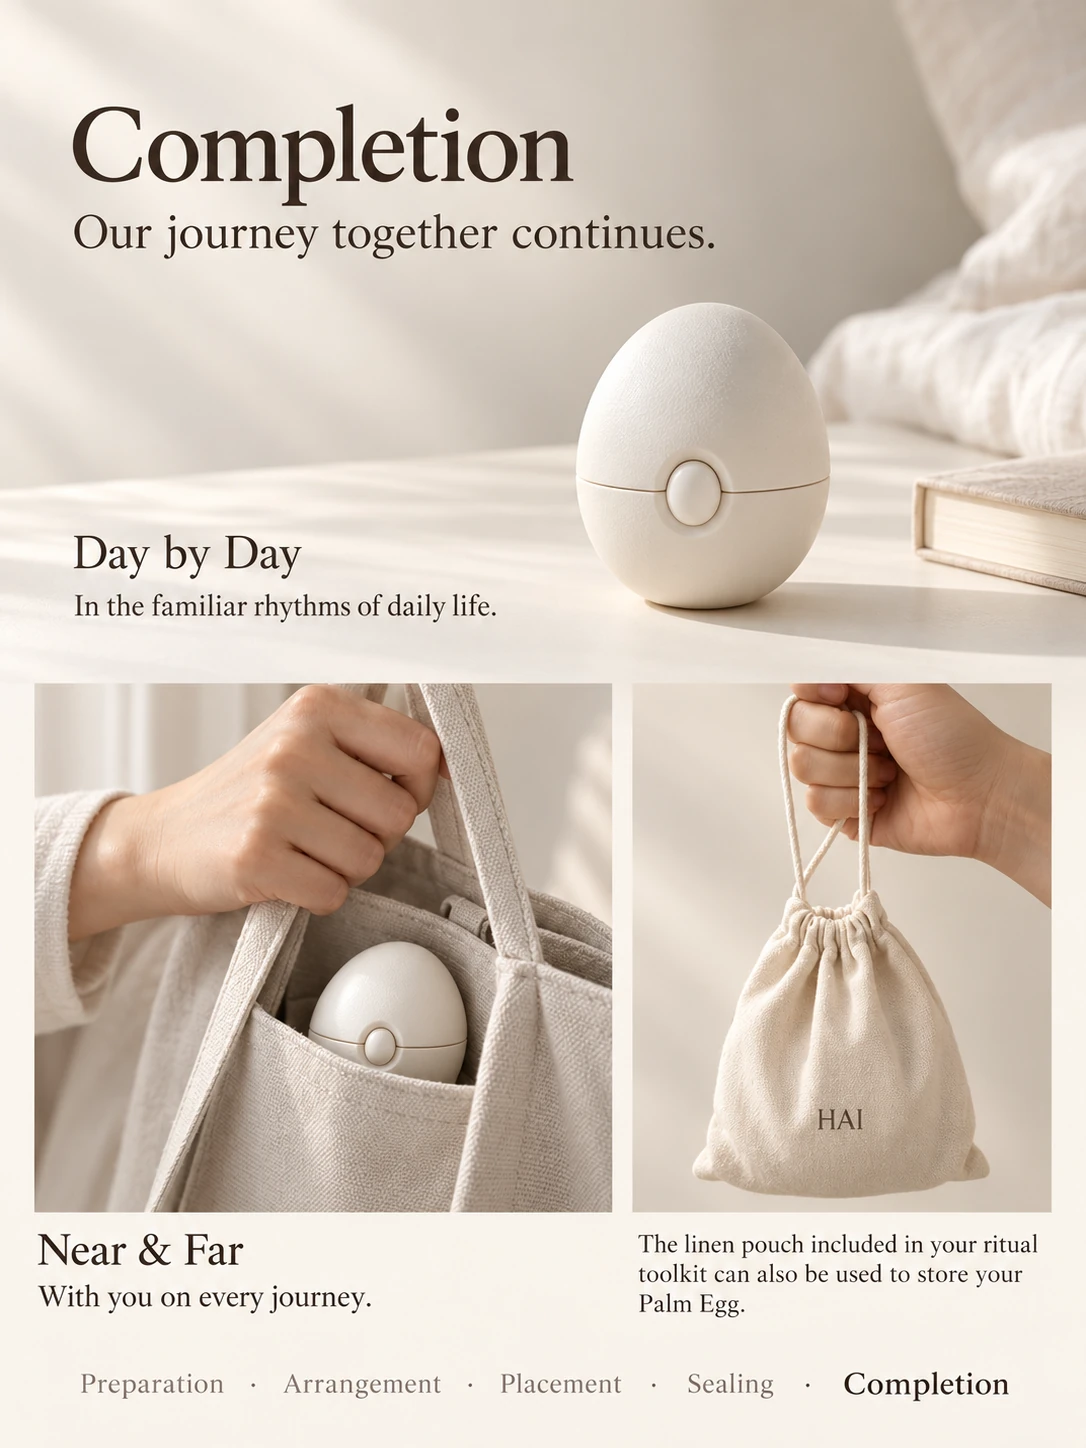
Step 5: instructions
Companionship continues.
Keep Palm Egg nearby at home, or take it with you when you go out.
The linen pouch in the toolkit can also store Palm Egg after sealing.
We are here to help.
For questions about your Palm Egg, its accessories or any sealing step, contact us.